Getting Started: Your Initial ADU Site Check
So, you're thinking about building an ADU. That's great! It's one of the best investments you can make in Seattle right now, whether it's for family, rental income, or just extra space. But before you get too excited about floor plans and finishes, you've got to figure out if your property can even handle one. This isn't just about space; it's about what's underneath, what's around, and what the city will let you do.
A lot of homeowners jump straight to design, and that's a mistake. You need to do a solid site assessment first. Some of this you can absolutely tackle yourself, saving you a few bucks. Other parts? You'll want a pro, trust me.
What You Can Do Yourself (The 'Before' Phase)
Before you even think about calling a contractor or architect, here are some things you can look into:
Check Your Zoning: This is step one. Go to the Seattle Department of Construction & Inspections (SDCI) website. It's not the prettiest site, but it's got the info. Look up your property's zoning designation. Most single-family zones (SF5000, SF7200, etc.) allow ADUs, but there are specific rules about size, height, and setbacks. You'll want to know if you can build an attached or detached ADU, and what the maximum footprint is. This will immediately tell you if your dream 1,000 sq ft ADU is even possible.
Measure Your Lot: Grab a tape measure, or better yet, pull up your property lines on King County Parcel Viewer. Measure out your setbacks from property lines, existing structures, and any easements. You're looking for a clear, buildable area. Don't forget about front yard setbacks – those can be tricky, especially if your house is closer to the street than newer builds.
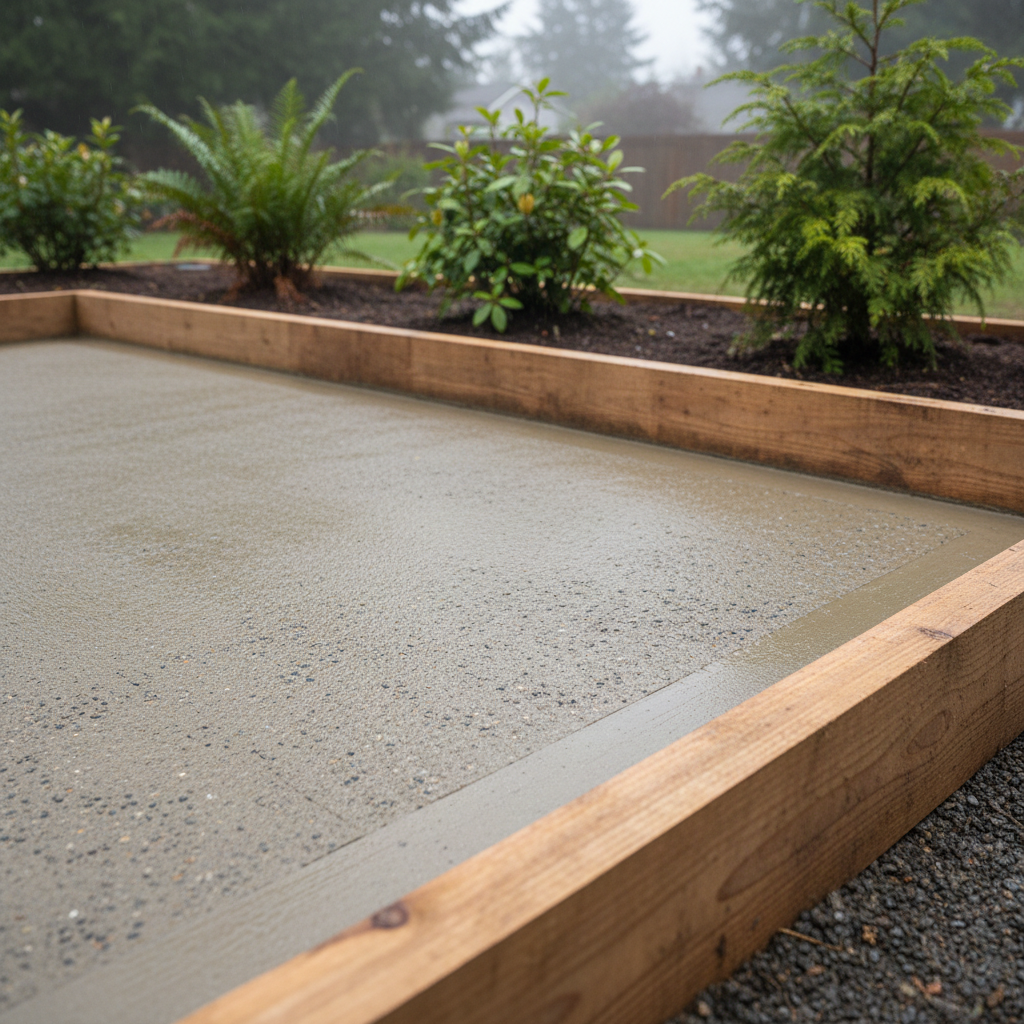
Look for Obstacles: Walk your property. Are there big trees you love that are right where you want to build? Seattle has strict tree protection ordinances, especially for exceptional trees. What about utility lines? Overhead power lines, underground water, sewer, gas? You'll need to know where these are, as they can dictate where you can and can't dig or build.
Consider Access: How would construction equipment get to the site? Can a truck get in and out easily? This might seem minor, but if everything has to be hand-carried down a narrow side yard, your construction costs will go up.
Take Photos: Document everything. Pictures of your yard, existing structures, potential build sites, and any obstacles. This will be super helpful when you talk to professionals.
When to Call a Pro (The 'During' Phase)
Once you've done your homework, you'll have a much clearer picture. This is when you bring in the experts. Don't skip these steps; they'll save you headaches and money down the road.
Topographical Survey: Your property might look flat, but a slight slope can make a big difference in foundation costs. A surveyor will map out the contours of your land, locate property lines precisely, and identify existing features. This is critical for accurate design and permitting.
Geotechnical Report (Soil Test): This is huge in Seattle, especially with our diverse soil conditions – from the sandy glacial till in Ballard to the clay-rich soils in Beacon Hill, or even areas with old fill. You need to know what you're building on. A geotech engineer will take soil samples to determine its bearing capacity, drainage characteristics, and if there are any stability issues. Building on unstable soil without proper engineering is asking for trouble.
Utility Locates & Capacity: While you can spot some utilities, a professional can confirm exact locations of underground lines. More importantly, they can assess if your existing electrical panel, water line, and sewer lateral have enough capacity to serve an additional dwelling unit. Upgrading these can be a significant cost, so you need to know early.
Tree Assessment: If you have large trees near your proposed build site, an arborist can assess their health, determine if they're protected, and advise on root protection zones. Sometimes, you might need to adjust your ADU footprint to save a tree.
Initial Consultation with an ADU Specialist: This is where someone like us, Seattle ADU Solutions, comes in. After you've gathered your initial info, we can look at your property, review your zoning, and give you a realistic idea of what's possible, what challenges you might face, and a rough budget. We can help you interpret those zoning codes and understand the implications of your site's specific conditions.
What Happens After the Assessment?
Once you have all this information – your zoning analysis, survey, geotech report, and utility info – you're in a fantastic position. You'll have a clear understanding of your property's limitations and opportunities. This data is what an architect or designer will use to create a buildable, permit-ready plan. It means fewer surprises during construction and a smoother path through the permitting process. Don't rush this initial phase; it's the foundation of a successful ADU project.